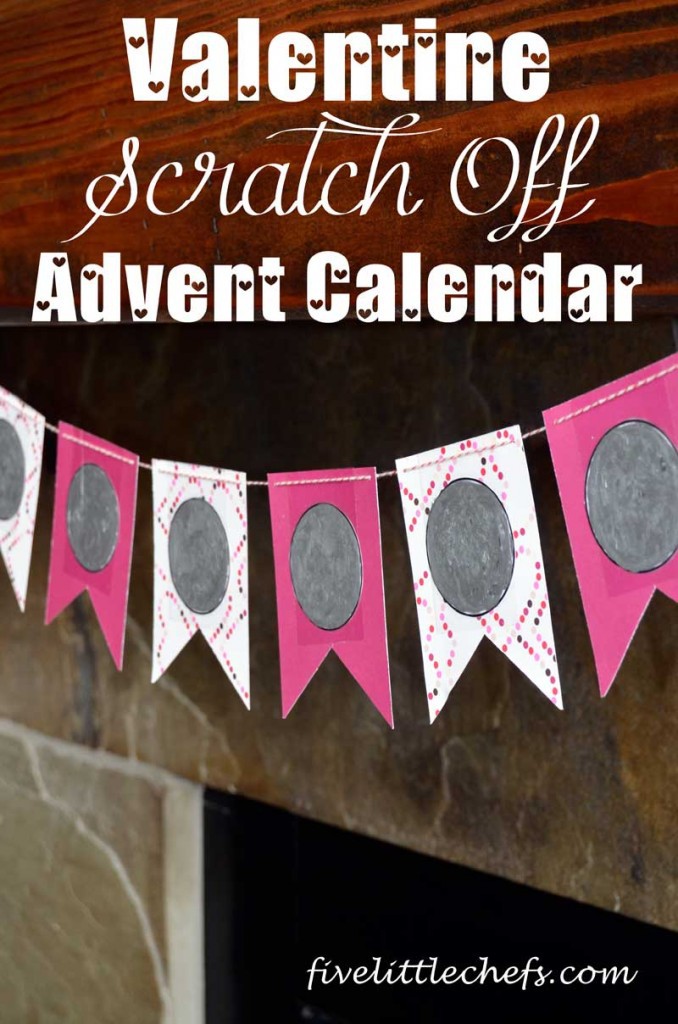
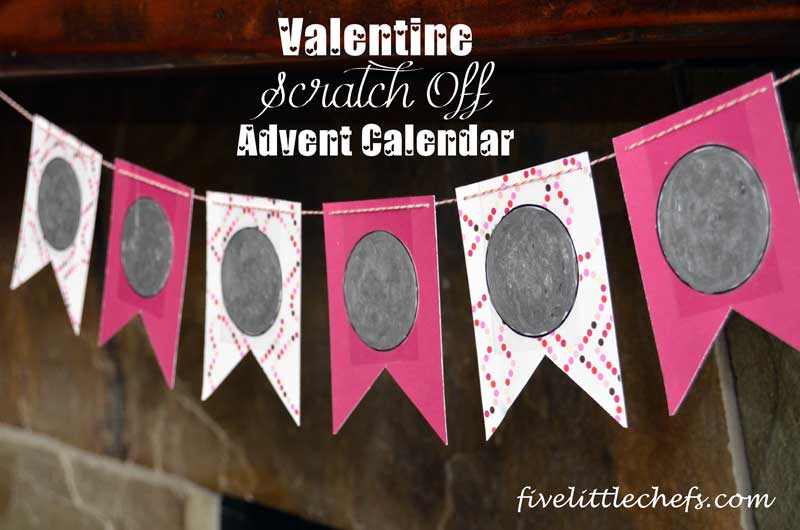
Sometimes my kids need a little extra push to do something nice for their family members. We still have up our easy crafts love tree and that is working well. But I have discovered sometimes they like doing nice things for the same person over and over. My kids absolutely love advent calendars so why not create a Valentine Advent Calendar. Any way to countdown to their fun activity or holiday is very exciting. We have our countdown plaque which is fun to use with candy. The Valentine Advent Calendar is designed to give service to others in a scratch off style to make it interactive and mysterious.
Materials:
- 1 piece 12×12 double sided cardstock
- printable valentine advent calendar
- glue
- scissors or paper trimmer
- FolkArt Acrylic Paint Metalic Silver Anniversary
- Pink Bakers Twine 25yds
- Clear packing tape
or clear contact paper
- liquid dish soap
- paper plate
- paint brush
- small hole punch
- Nesting Paper Punch-Circle 2inches
Instructions:
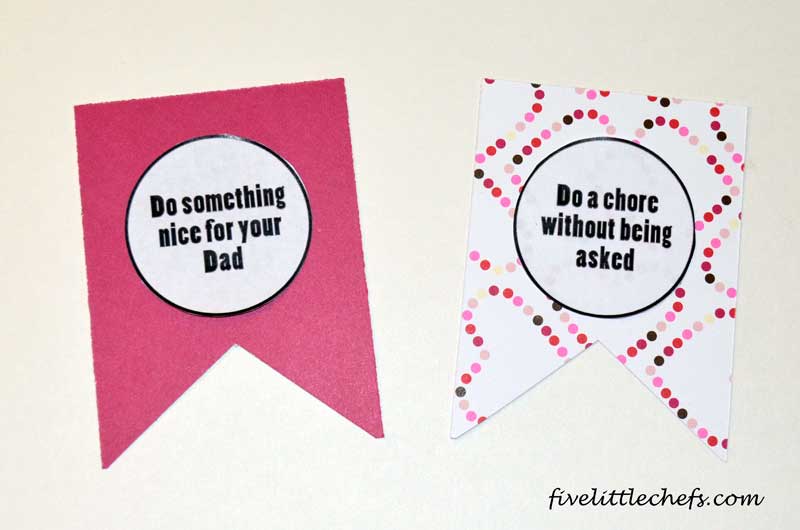
- Print the free valentine advent calendar. I have a variety of acts of service, choose the ones you want to use or make your own. It is even ok to use some of them twice. Cut the circles out with scissors or a 2″ circle punch.
- Cut the 12×12 piece of cardstock into 3×4 rectangles. (3″ wide x 4″ height) You should have a total of 12. Cut out the triangle on the bottom. Just guess. Punch a hole in the top two corners, but not too close to the corner that it will rip. Now you have created your square pennants. If you want to do less days just cut out less pennants. This is so easy to customize to your needs!
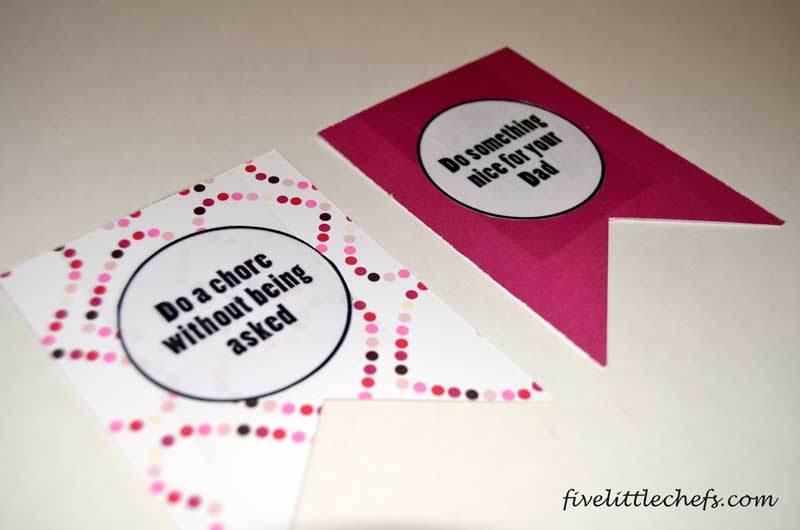
- Glue the 2″ circle in the middle of each of your square pennants. I chose to glue 6 on one side of the cardstock and 6 on the opposite side.
- To create the scratch off you have two options. You may use clear packing tape or contact paper.
- If you use clear packing tape –
- cover the circle with a piece of tape that is a little bigger then the circle. The packing tape I used was exactly 2″.
- Paint (more on that in a minute) with a paintbrush to cover the circle. Use the circle below as the outline to create a painted circle on the tape. This will take 3-4 coats. Let dry completely between coats.
- If you use clear contact paper –
- Paint (more on that in a minute) with a paintbrush about a 14″x 6″ rectangle. This will take 3-4 coats. Let dry completely between coats.
- Using your 2″ circle punch, punch out 12 circles being careful not to scratch the painted surface.
- Once completely dry, peel off the backing and place on top of each circle you just glued down.
- If you use clear packing tape –
- To make the paint. Mix two parts crylic metallic paint and one part liquid dish soap onto a paper plate. Mix it together with your paintbrush. Now you are ready to paint. Here is what mine looks like after one coat of paint. You can see through a bit. Let it dry completely inbetween coats. It will take 3-4 coats.
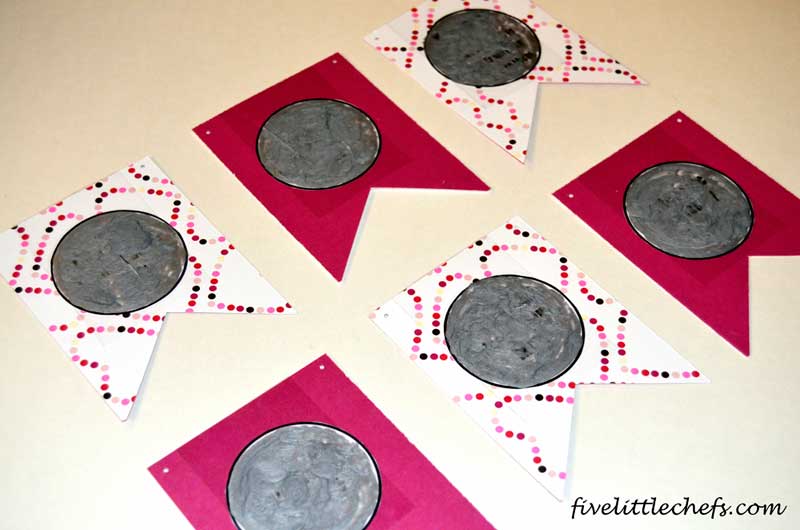
- Once you have all 12 pieces of cardstock assembled you are ready to lace them together. Grab your twine/string/yarn and thread each pennant through until you have all 12 hung. You are done!
Each day let your child use a penny to scratch off one of the circles. Whatever they reveal is their secret mission for the day!

4 Replies to "Valentine Advent Calendar - Scratch Off Style"
Merlinda Little (@pixiedusk) February 2, 2015 (12:51 pm)
OOOh this is so cool! Its so nice that I now know how to do those scratch card type cover! Thanks for sharing =) #magicmoments
Coombe Mill February 2, 2015 (1:27 pm)
Pretty and I love the message!
brittpenney February 4, 2015 (7:18 pm)
What a fun idea! I love that it is both a decoration and an activity! My kids would love this! Always looking for ideas on how to involve the kids in Valentines! Thanks for the idea!
Kimberly FiveLittleChefs February 4, 2015 (7:49 pm)
I’m glad you like it. My kids are having fun scratching off each day wondering what is their task for the day!