My kids love to read for school and fun. I find them holding their places in the books with toys, pencils, kleenex…. It was about time we learned how to make a bookmark. Easy crafts are something we love to do. We found a way to create cute bookmarks to hold our places when it is time to put the book down.
We enjoy frequenting the library to discover new books and movies. I am constantly putting books on hold for my kids who have seen a friend with a book that looked fun and interesting. A common phrase at my house is, “I’m almost done with this page”. Many times chores and lights out are delayed.
This craft may seem overwhelming because of the amount of supplies pictured, but after cutting out the parts I was able to get this done with four 10-11 year old girls creating their own in one hour.
How To Make A Bookmark – Handmade Crafts
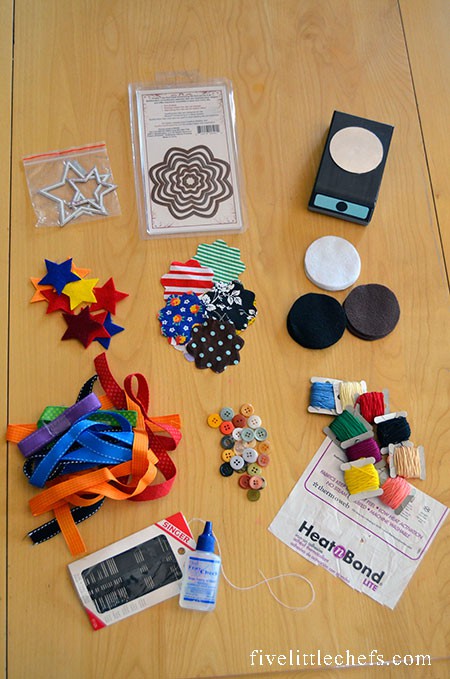
Supplies:
- felt
- ribbon
- buttons
- embroidery thread
- fray check
- needles
- circle punch
- Momenta Stars Cut and Emboss Dies
– not what I used but it is close
- Momenta Small Flowers Cut and Emboss Dies
– not what I used but it is close
- Cuttlebug
- Heat n Bond
(optional)
- iron
Directions:
- Cut a piece of ribbon 22 inches long.
- Punch out two circles. It is a little tricky cutting fabric. Hold the fabric tight. Sometimes my fabric did get stuck. As an alternative use a cup that is the right size to trace around and cut out. One circle will be for the front and the other will be for the back.
- Using the cuttlebug and die cuts – cut out a star (or flower or your own favorite shape) out of the fabric/felt and another one out of the Heat n Bond (optional).
- Optional: Iron the Heat n Bond star to the felt star using the directions found on the Heat n Bond.
- Optional: Iron the star to the circle. The star should be “glued” to the circle.
- Fold the second circle in half. Cut two slits so that the ribbon is able to slip through the felt.
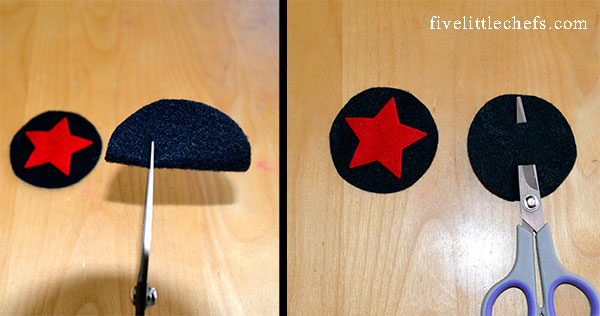
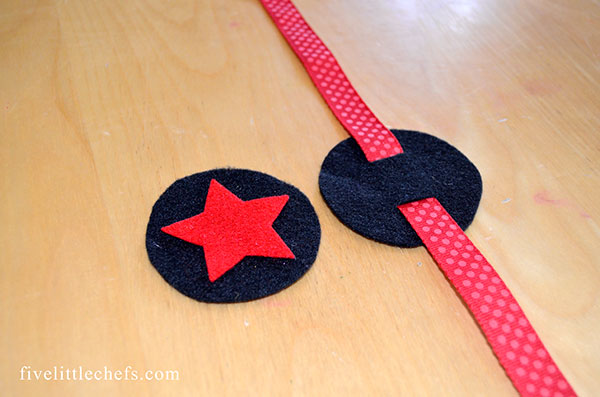
- Thread the ribbon through the slits.
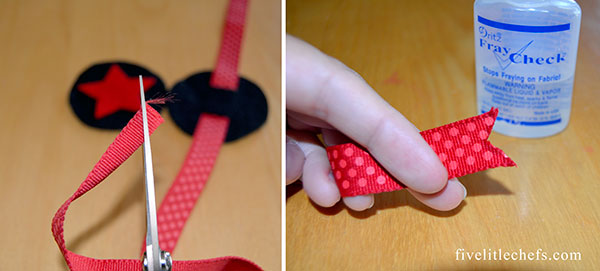
- Take one end of the ribbon and fold it in half. Cut it on an angle starting high on the fold side to low on the open side to create a decorative end. Repeat on the other side.
- Use fray check on both ends to seal them.
- Thread a needle with your embroidery thread, using all threads. Sew around the star with a running stitch.

- Put the two circles together using a blanket stitch. Do not stitch through the ribbon to allow it to move up and down. When you get to the middle only blanket stitch through the top circle.
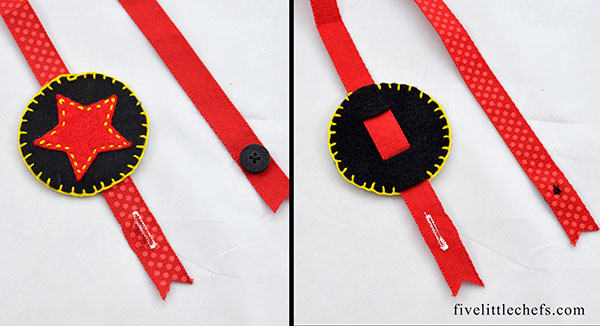
- Using your sewing machine create a button hole on the lower part of the front ribbon. My machine has a button hole option. I measure the button and the machine creates the hole. Refer to your manual.
- Sew on a button on the lower part of the back ribbon.
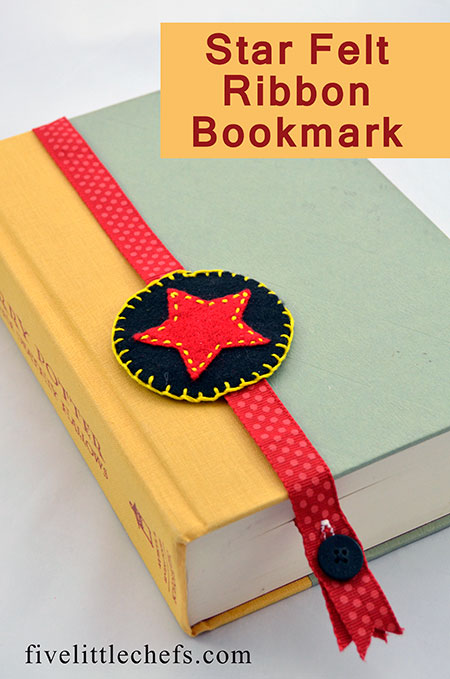
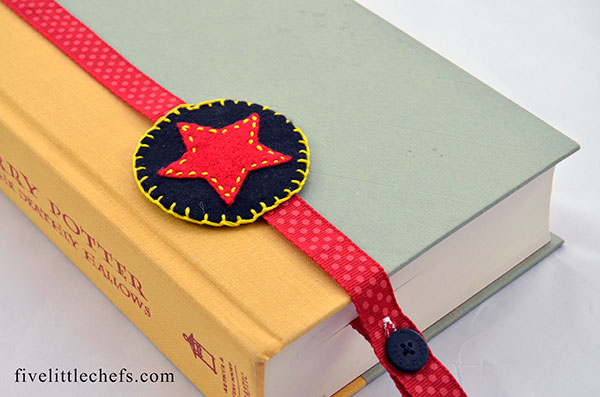
- Your bookmark is complete. Grab your favorite book and begin to read!
I love handmade gifts because they can be personalized. Change the star into a football or a crown. For small books with 100 pages or less consider using a smaller length of ribbon or adding a second button hole.
For my activity day girls I wanted to teach them how to sew on a button, make a button hole on a machine, do a running stitch and a blanket stitch. By teaching them how to make a bookmark I was able to accomplish all these goals.

4 Replies to "How to Make a Bookmark with Felt and Ribbon"
sgarrison05 April 8, 2015 (11:09 pm)
This is such a cute idea and really, REALLY functionable. Thanks for sharing.
travelanimaldr April 10, 2015 (8:06 pm)
Very neat, thank you for sharing!
Joy @ Yesterfood April 12, 2015 (11:38 am)
I love this so much! Anything to encourage kids to read, but it’s also a fun craft! Pinned! Thank you for sharing it with us at Treasure Box Tuesday! It’s one of my features this week- we get started tomorrow (Monday) evening at 8:00 p.m. Eastern time. Hope to see you soon! 🙂