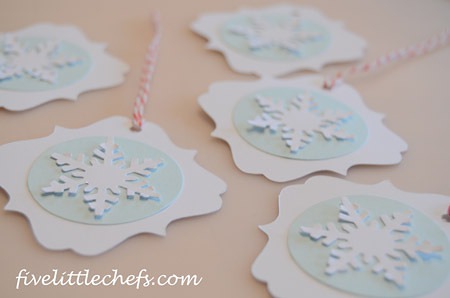
 There are so many ways to dress up a present. We thought it would be fun to create a couple tags using the Cricut Mini. The Cricut has so many cartridges and options but we used the basic shapes that came free with the machine. We discovered the machine is easy for kids to use. They are able to visually see where the shape will be cut by reading the grid on the screen and on the mat.
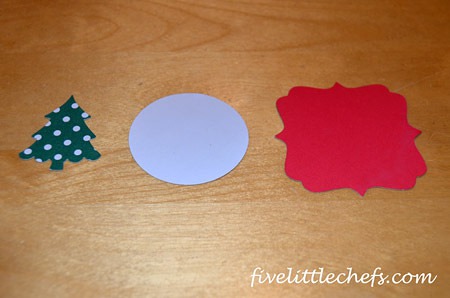
For the first tag we cut out the first two shapes. The snowflake we cut out with a punch.
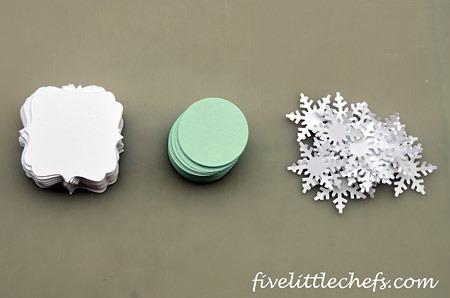 Next, Little Chef D glued the three layers together. The hardest part was gently reminding her to make sure each layer was placed in the center.
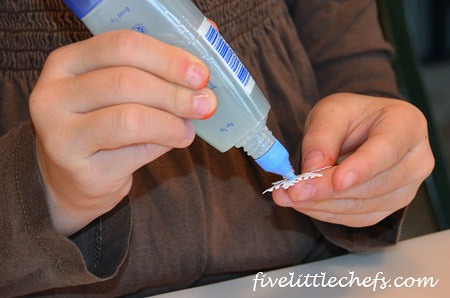
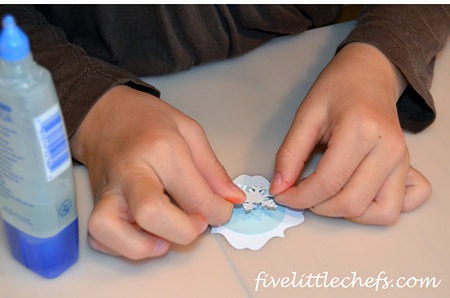
I really wanted to redo some, and secretly did alter some when they were not dry yet. She had fun and thought they were wonderful so that is all that mattered!
The second tag is just as easy. Again we used the basic shapes that came with the mini.
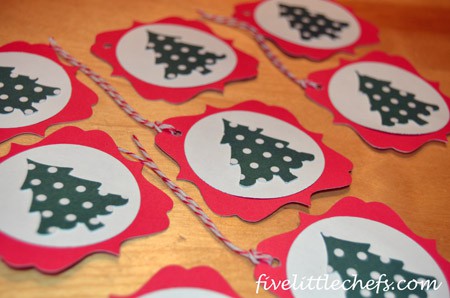
Each layer was glued together one at a time. We used a Crop-A-Dile to punch a hole in the corner then threaded through red and white Baker’s Twine
While we enjoyed the use of the Cricut Mini we could not understand why the top row was never fully cut. Each shape was left with 1/2″ uncut which meant we were never able to use that row. It must be some sort of flaw. We inserted all the shapes the same way and only that row had a problem. Any ideas?
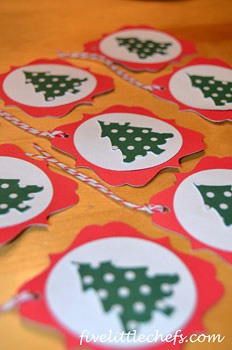 Next time your Little Chefs are bored let them create their own tags for Christmas presents.
This post is not a sponsored post. All opinions are our own.

2 Replies to "Christmas Tags using the Cricut Mini"
Tiffany December 6, 2013 (7:57 am)
I love these!! Will you make me some?
Kimberly FiveLittleChefs December 11, 2013 (6:58 am)
If I can find more white cardstock. I’m using all I have!