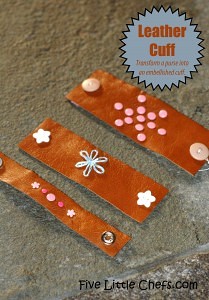
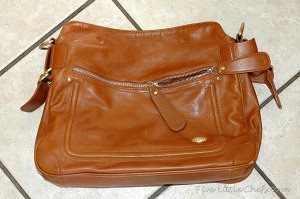
Do you have a leather or pleather coat or purse that you do not want anymore? If the answer is yes then you have the main material for our Embellished Cuff. This is the perfect idea for my Little Chefs because they absolutely LOVE reusing items instead of throwing them away. They are constantly trying to come up with something they can make with items that are not being used anymore. The Embellished Cuff is so fun to make because the possibilities are endless. You can use anything that strikes your fancy.
Ingredients
- leather or pleather coat/purse/belt
- embellishment items such as yarn, DMC thread, rivets, snaps, buttons, brads…
- embellishment tools as needed
- scissors
Directions
- Cut leather/pleather to desired length and width. If your closure is a snap make sure you add enough overlap when measuring.
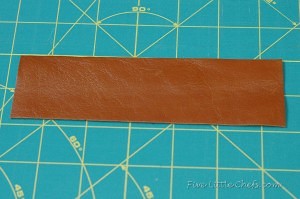
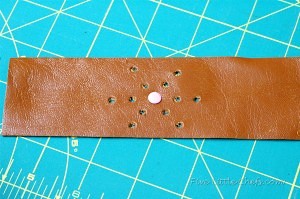
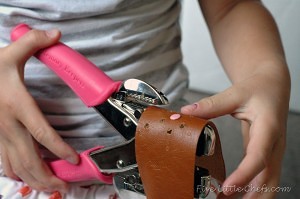
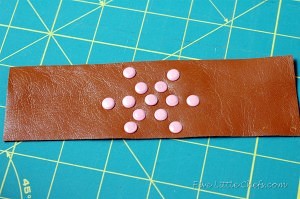
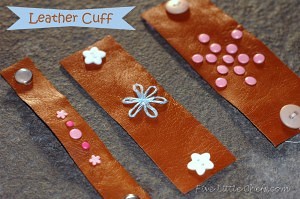
- Embellish cuff as you wish. Little Chef D had fun making a flower pattern as she called it. She first laid out her materials onto of the cuff to get an idea what it would look like. She pushed down on the rivets/scrapbooking snaps to create an impression. Now she knew where to make the holes. She used a Crop-A-Dile
to cut out the holes and then to adhere the rivets. I was amazed that she was able to use this tool. She had more success with making the holes then she did with adhering the rivets. I ended up helping her quite a bit with that step. I would suggest using brads instead. We used those for Little Chef H’s cuff and it was SO much easier.
- Create your closure. Snaps are a great option. We had more success with sewing a button on each end and then tied a piece of Elastic Sewing Thread
to one button and then closed it on the wrist with a back and forth weave. This method was also easier for Little Chef D to remove by herself. She is not very good at snaps on anything. 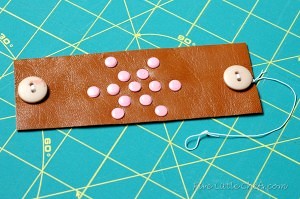
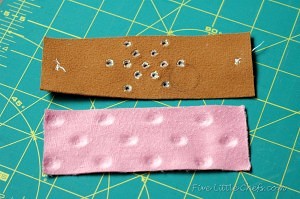
- My Little Chefs do not like anything scratchy so we hot glued a piece of soft fabric to the backside of the cuff to cover the scratchy edges.
- Put on the cuff and enjoy your creation!
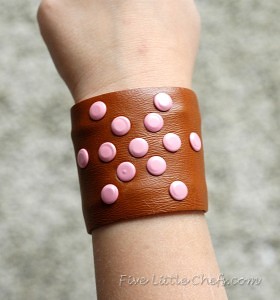
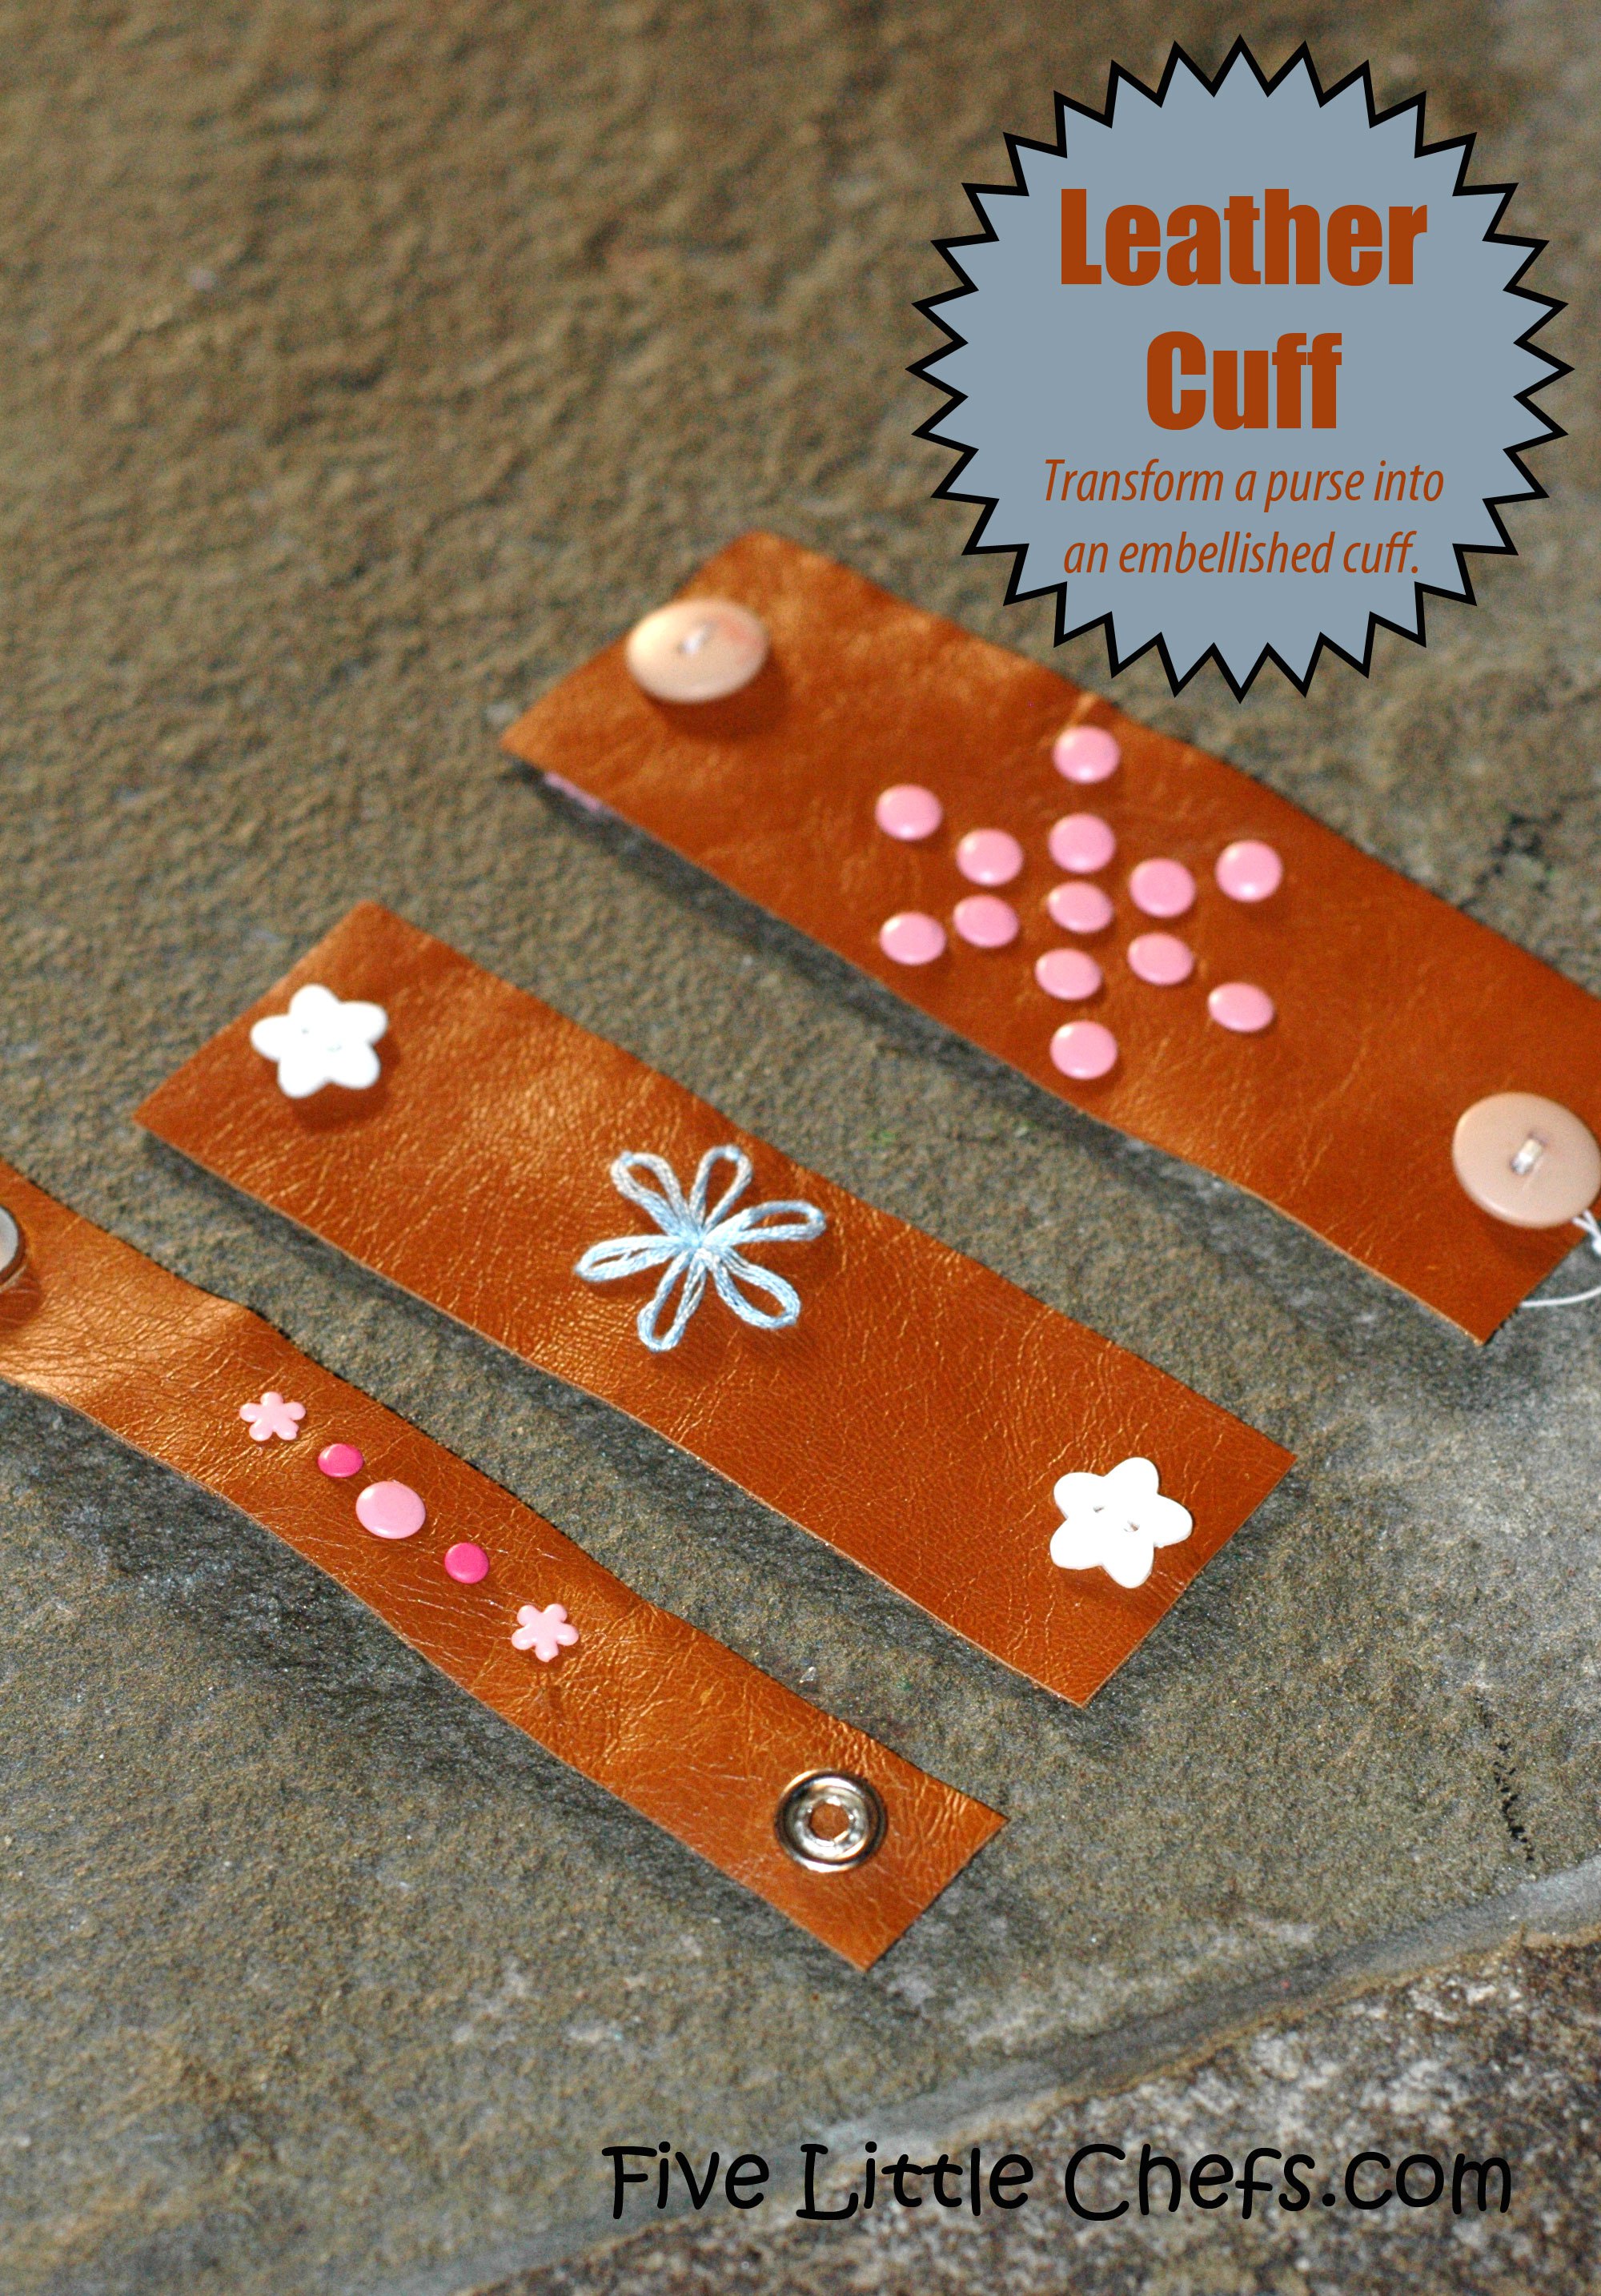
Tips: The best embellishments we found were the brads and sewing with DMC thread. The purse material for us was thin which made it easy for the Little Chefs to push a needle through it. Belts are a lot thicker and which gives a different appearance but the material is too difficult for Little Chefs as young as mine to work with. We still have more raw materials. My Little Chefs are not done with creating. They really enjoyed this craft!

6 Replies to "Embellished Cuff"
Debi and Charly @ Adorned From Above May 14, 2013 (10:08 am)
These came out so cute.
Debi and Charly
headchef May 14, 2013 (2:38 pm)
Thanks so much!
Diane Marie Haller May 18, 2013 (4:57 pm)
Great project! Thanks for linking up at Family Fun Friday at http://happyandblessedhome.com! Blessings!
BetsyPool May 21, 2013 (10:50 am)
Such a great idea!! I love that your kids really get into reusing things for new purposes! 🙂 Thanks for linking up at Romance on a dime!
Kim~madeinaday May 27, 2015 (7:27 pm)
These are pretty adorable! I love that you used an old purse for the fabric! I made some of these out of old belts, the post is on the blog if you would like to see. Thanks so much for pinning it to the P3 Party Board! I am featuring you Friday on the P3 Party! So look for a little traffic from me on social media!
Kim
Kimberly May 28, 2015 (7:34 am)
Thanks for the feature. A belt is also a great idea!