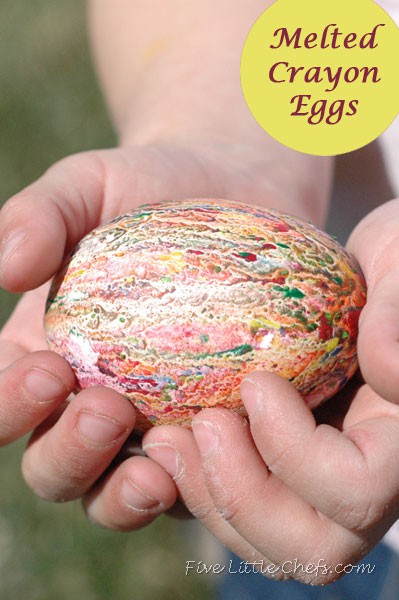
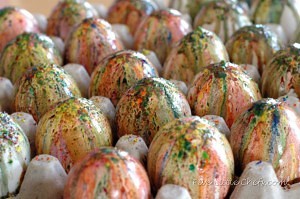
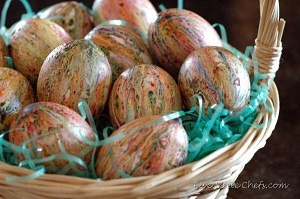
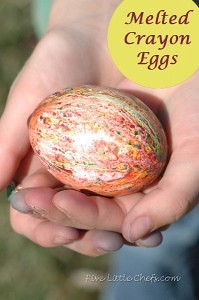
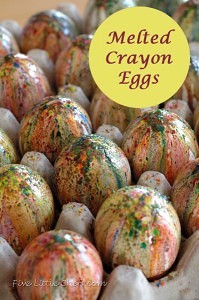
Melted Crayon Eggs is a PERFECT way of coloring easter eggs quickly. In fact its a great way to color a lot of eggs at once. I just love easy crafts! Remember when Little Chef D enjoyed making her Butterfly Melted Crayon Art? We learned from that experience that grating crayons is a hard and long task if you do it by hand, but the result of melting the crayons is beautiful. We wanted to apply that technique to eggs.
Ingredients:
- Hot hard boiled eggs
- Variety of crayons
- Grater
- Plate
Directions
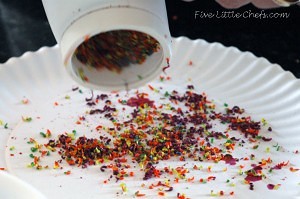
- Remove the paper from the crayons and grate onto a plate. Using this type of Grater
gave us the quickest results. This needs to be done BEFORE your eggs are done cooking. In order to be successful with this technique you need to have hot eggs.
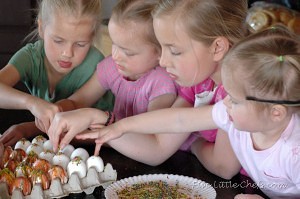
- Place your very hot hard boiled eggs back in the egg container. Use tongs so that you do not burn your fingers.
- Sprinkle the crayon shavings on the top of each egg. We loved the mixed colors so we didn’t separate them when grating, which actually made that step faster.
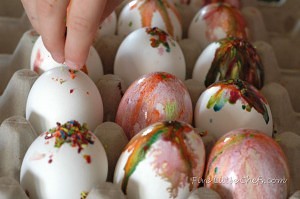
- Wait and watch the crayon shavings melt and drip down the sides of the egg all the way to the bottom. The wax will pool in the bottom of the egg carton. We did not have a problem with any of the eggs sticking to the carton.
That’s it! Quick and easy. The key is using hot eggs. If you notice the eggs that have more white are the eggs that were cooled off more then the others. If you do not mix ALL the colors together as we did you will get more diverse eggs.
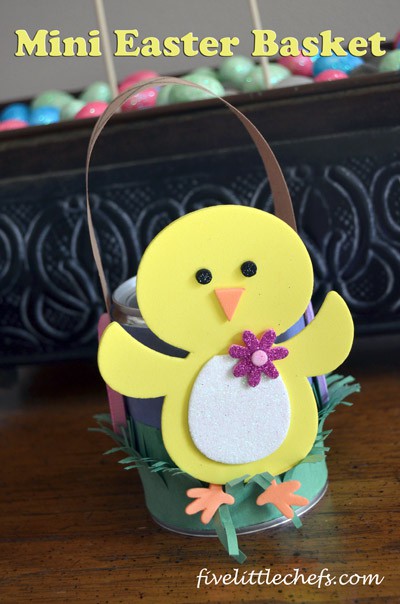
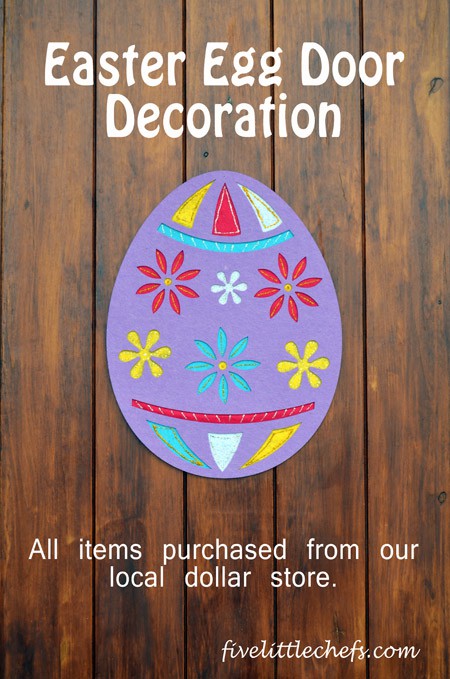
Here are 5 more favorite easter crafts:


12 Replies to "Melted Crayon Eggs - Coloring Easter Eggs"
Kaylynn Young March 31, 2013 (12:31 am)
This is a dang cute idea – Thanks for sharing! I’m a fan of a different way to color eggs!
Picked up your card at BYB13 and I’m following you in every way possible. Hope you’ll check out my blog so we can get to know each other better!
Kaylynn
AmongTheYoung.com
Kimberly FiveLittleChefs March 31, 2013 (7:54 am)
Thanks for checking us out! I love your pic! Your blog must be just as cute! Off to check it out!
Fine Craft Guild April 3, 2013 (1:24 am)
I have never seen this before. I LOVE how these come out!! Well, it may be a little chefs’ project but I’m sure that they are pleasing to the eye to many adults as well! Thank you for sharing these with us at our linky party. Can’t wait to see what you’ll be sharing with us again this week!
vmg206 April 3, 2013 (11:11 am)
So fun! Creative, Bright and colorful!
I’m visiting you today from Wow Us Wednesdays. I hope you get a chance to stop by my blog and leave a comment and Link Up, too!
~ Megin of VMG206
Medicine Cabinet Makeover
rainonatinroof01 April 4, 2013 (12:04 pm)
What a creative idea and they look so cute! Thanks so much for linking up to Give Me The Goods Monday! Can’t wait to see what goods you bring next week! Jenna @ Rain on a Tin Roof
Diana Rambles April 5, 2013 (8:02 pm)
So pretty!!!
Charlene@A Pinch of Joy April 7, 2013 (7:09 am)
What a clever and unique idea! They turned out great! Thanks for sharing on Busy Monday!
Andrea April 7, 2013 (6:23 pm)
Wow, what a cute idea! I have never seen anything like this before, very creative. Thanks for sharing! Stopping by from Six Sisters 🙂
RamblingReed.blogspot.com
Kimberly FiveLittleChefs April 7, 2013 (7:26 pm)
Thanks for stopping by. We hope you come back soon!
BetsyPool April 9, 2013 (8:53 am)
These look fantastic. Great idea! Thanks for linking up at Romance on a dime!!